


The Bukkit Team Join Mojang!
The four main developers of Bukkit and CraftBukkit, the server-side mod for Minecraft, are now joining Mojang!
This means that we can expect improved mod support in future, not only for Minecraft, but also for those of us running servers! The plan is to build a new server API, and then extend this to support client-side modding.
In the meantime, the team are working to make Bukkit compatible with Minecraft 1.2, to avoid a long gap while the official Minecraft server catches up.
You can read the Bukkit story over on their forum.
Now VoxelSniper is working..
There are plenty of guides on how to use VoxelSniper, but I’d always rather learn by doing.. so I watched the first part of a guide on how to build a road, and then started fiddling around by myself.
Your VoxelSniper tools are an arrow.. a bog-standard arrow, nothing special.. and a piece of sulphur, maybe better known as gunpowder. All you need to do is give these to yourself via op command: “/give $player 262” and “/give $player 289”, and then have one in your hand to start sniping!
Default values mean a brush size of 1, with material air, so you’ll only see an effect from using the arrow, which replaces the block you’re pointing at. Changing the material allows you to see a bit more.. using the command “/v (material)”.. for me, this was “/v 57”.. then a right click with the arrow replaces your block with a diamond block, while a right click with the sulphur adds a diamond block on top of the one you were pointing at.
You can change the brush type: “/b b” for ball, or “/b d” for disc, then size: “/b (radius)”.
I went with the disc to start with..
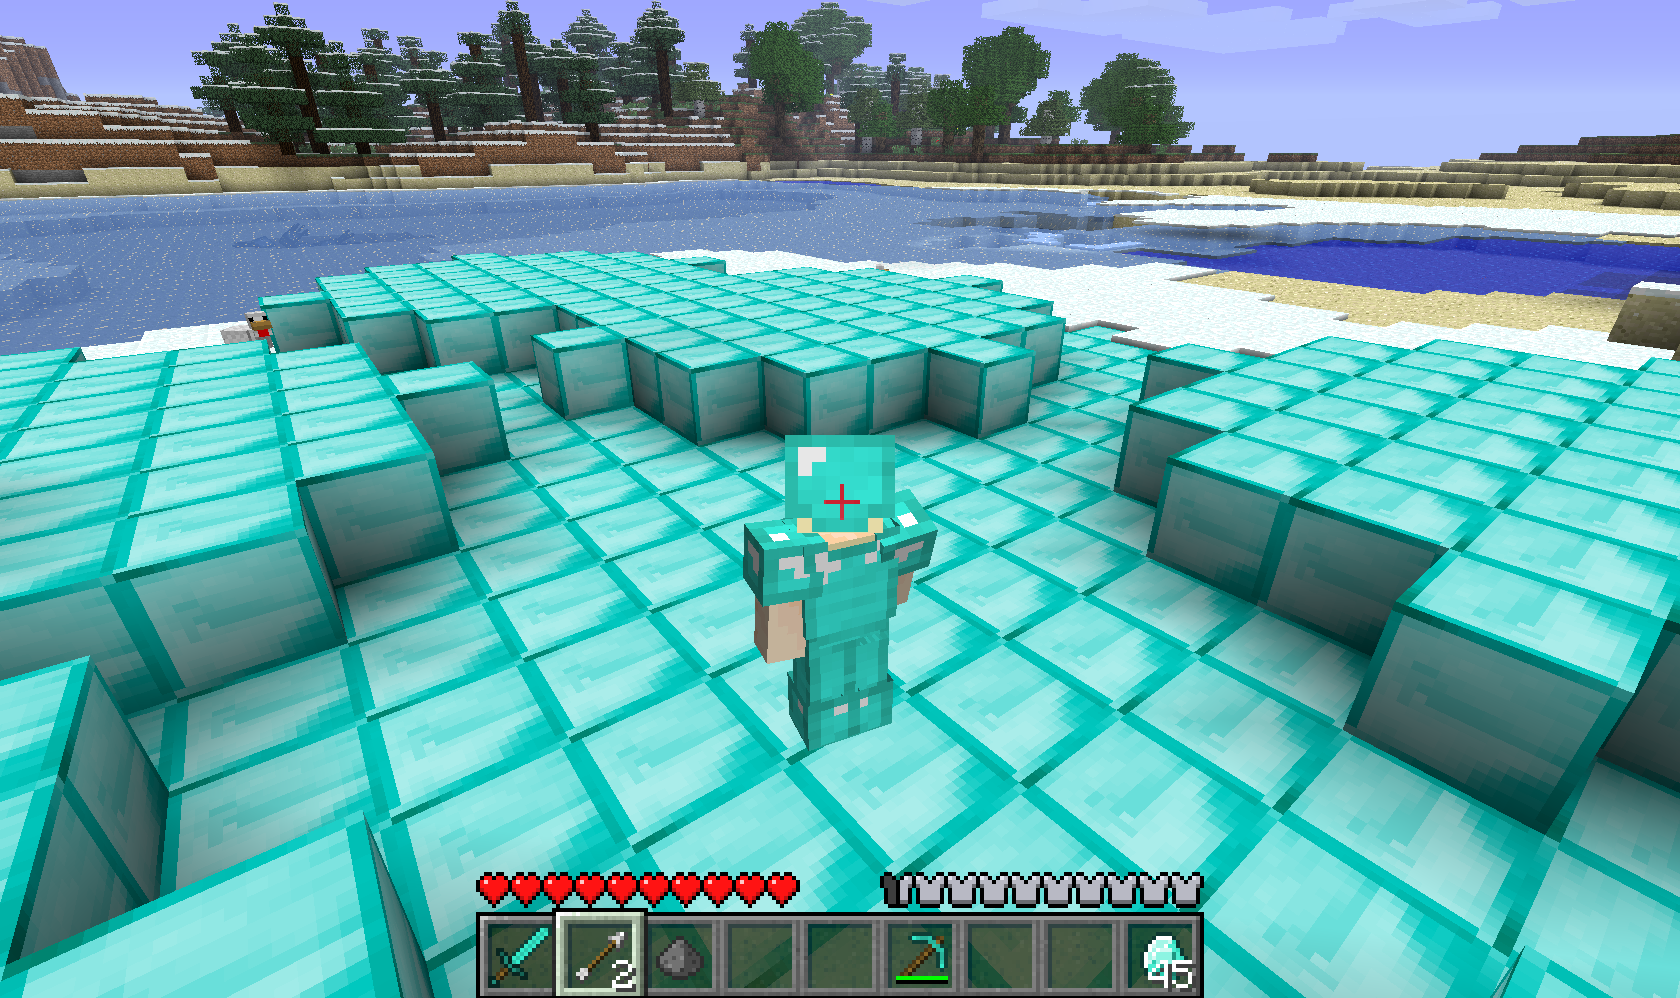
Maybe I went a little mad with the diamonds, but they are meant to be a girl’s best friend 😉
So.. right clicking with the arrow replaces whatever is at the position you’re pointing at, while the sulphur places your material on the row above whatever you’re pointing at. To remove anything, simply set your material to air, using “/v 0”, and click away.
I clicked a few times.. making a nice hole in the ground, through caves.. and then got carried away.
VoxelSniper lets you remove Bedrock too 😮
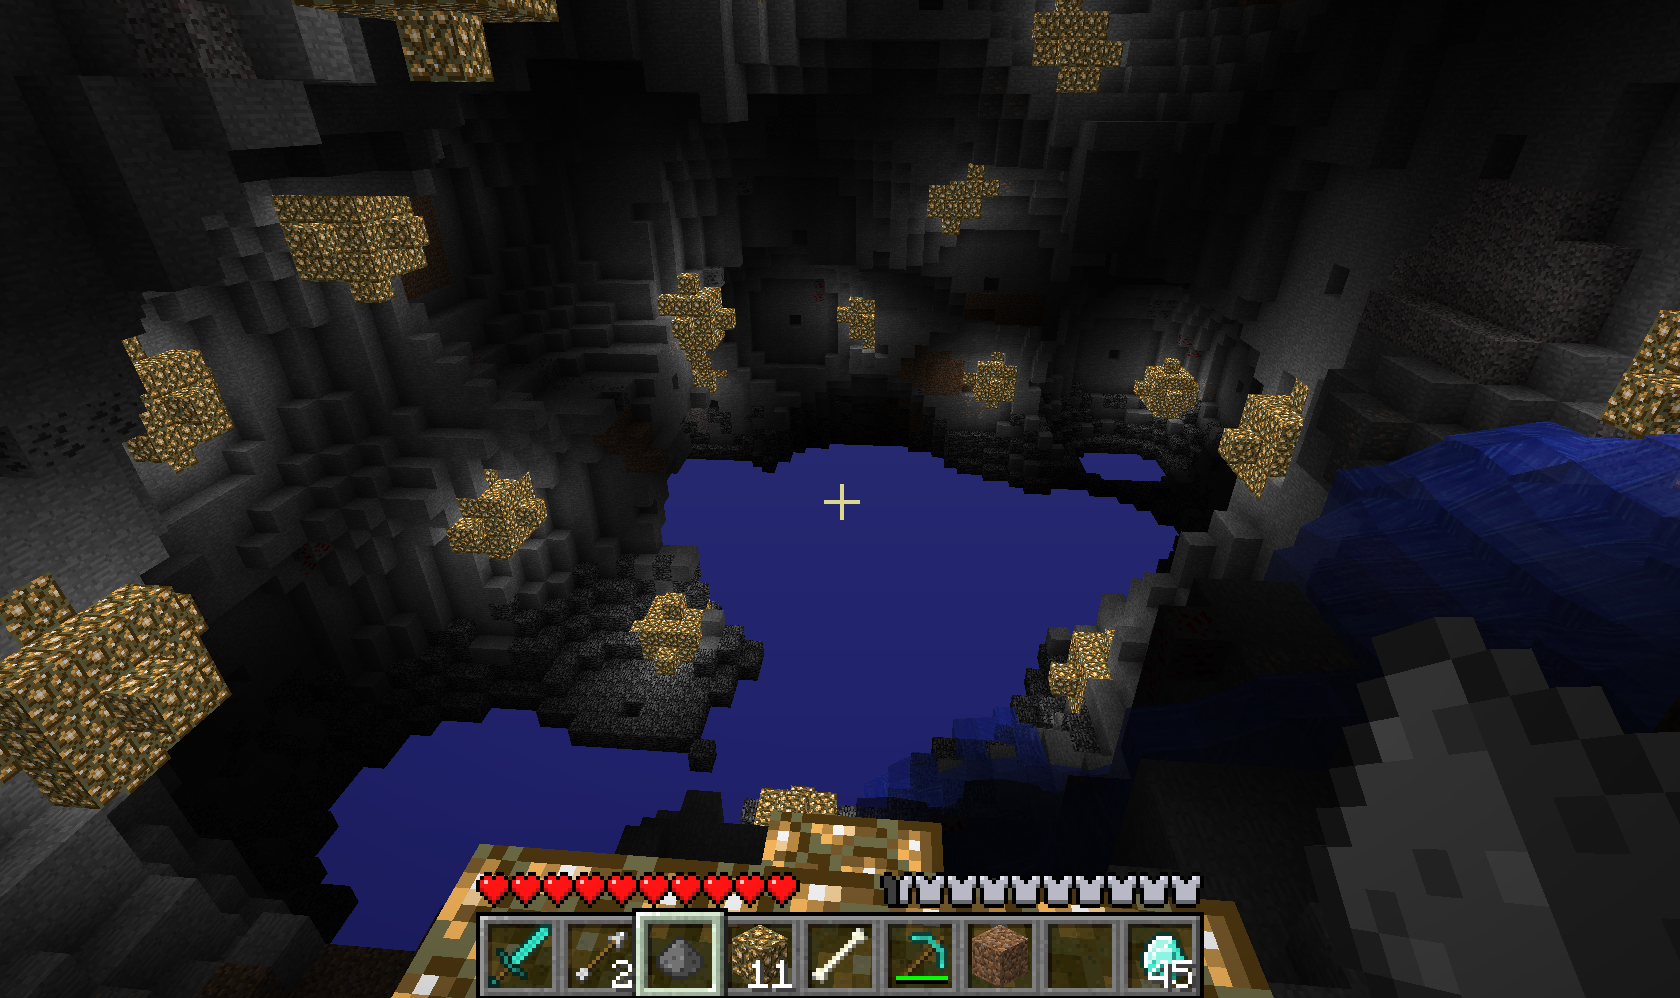
I lit the place up using balls of Glowstone (“/b b”, “/v 89) for this screenshot 🙂
The server handled all this very well.. I didn’t notice any lag during the excavation.
Tim was looking at the server stats.. so I decided to push it a bit, and started placing lots and lots of materials, followed by deleting even more! Holding down the button and sweeping it caused only the slightest delay in seeing the results.. I’ve seen worse “lag” using crazy custom brushes in Photoshop!
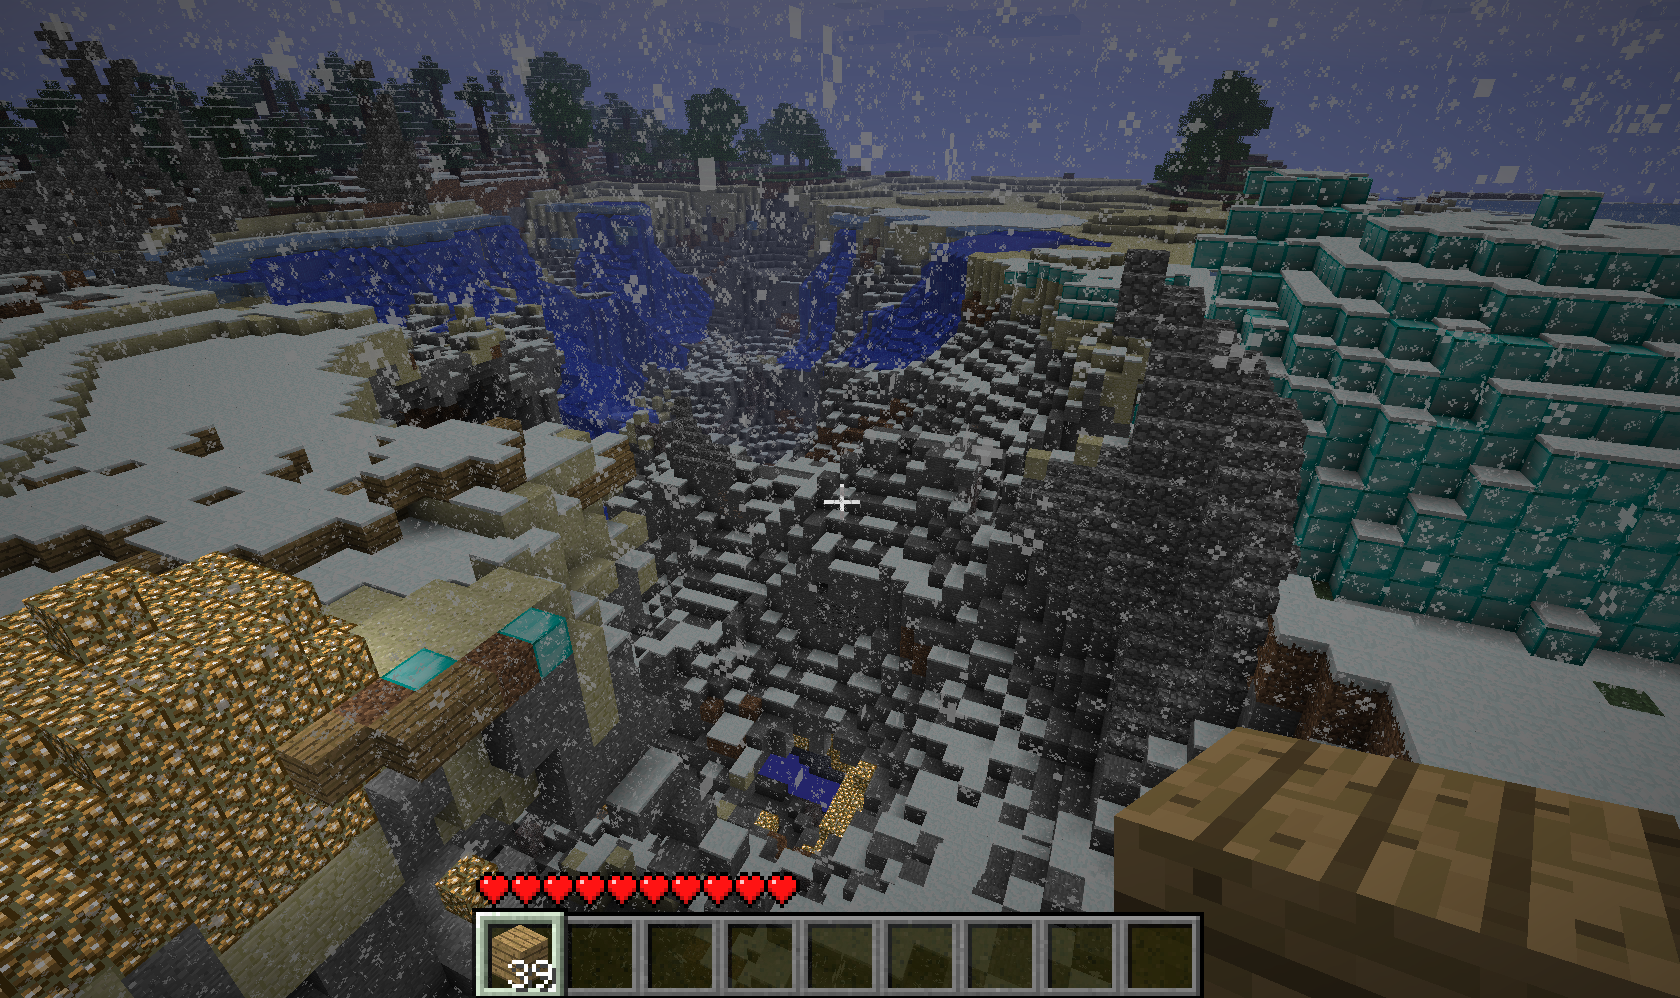
The server barely noticed.. but I think it’s safe to say I’ll be wiping this map and starting again for any real creative work! 😀
Successful Sniping!
Over the weekend, I spent a bit of time installing a CraftBukkit server, then trying to get VoxelSniper running on it.. the first worked fine, but VoxelSniper didn’t want to know. I went as far as to reinstall both server and plugin as it seemed not to be working, and I thought maybe I had an out of date version.
However, it turns out I may just have been using the wrong command to get at the tool..
Having watched the start a fairly simple video tutorial using the tool, I had seen the command “i arrow” being used to get an arrow. This command, when run on my server, produced an “Unknown console command” error. Googling around only turned up suggestions for reinstalling VoxelSniper, making sure I was running the right version, etc.
I mentioned this to a friend, who asked if it wasn’t just “give (arrow id)”.. a normal op command in Minecraft. I hadn’t considered this as I assumed an “i arrow” arrow would be something different to the regular one, just sharing the skin.. but once I gave my friend the arrow and added him to snipers.txt, he was able to use the tool as intended! I’m guessing “i arrow” works with some kind of mod.. something I might have realised if I’d played with more mods or thought about if I’d had more server experience.. but if you learn from your mistakes, then this is all good 🙂
I only wish I had access to play on the server from here.. and that I didn’t have to get back to work 😉
More Server Things – Garry’s Mod
When I got my virtual server, the other thing I’d planned was to run a Garry’s Mod server.
In the past we relied on public servers and been at the mercy of whatever admin appearing and deleting our stuff without so much as a word.. somewhat putting me off trying to build anything that takes more than a few minutes.
The first step was installing the Half-Life Dedicated Server Update Tool Setup Program.. what a mouthful 😉
Once installed, it apparently then needs updating (once again I have Tim for an instruction manual).. before running. Garry’s mod requires the Orange Box, so the tool went off to find that as well..
More fiddling checked the tool had updated, and then the server was started!

As it all worked, there had to be some kind of celebration, right? 😉
I have a Bukkit!
This post is a story about learning how to install a CraftBukkit server, and add a plugin. Sounds simple, right?
I wanted to play with terraforming on Minecraft.. and as I have my own virtual server now, there was no reason not to try, except.. where to start? VoxelSniper was the plugin I was directed to for terraforming, and to install that, I required a CraftBukkit server.
My prior server experience is pretty much this: connecting to the server, installing a Minecraft server, and connecting to that to see if it worked (it did). I prefer to know what I’m doing, and why.. but it seems that anything relating to servers has a rather elitist following who go by the guideline of “If you don’t understand it, you shouldn’t be doing it”. Therefore, I ended up following this newb-friendly guide, which got me as far as installing the latest CraftBukkit download and running it.. before coming back to the question which had been bugging me from the start.
What do I have to do once I’ve installed CraftBukkit? Move my Minecraft server into that? Point the CraftBukkit server at my Minecraft server? I ended up having to ask Tim to take a look 🙁
The CraftBukkit server actually contains the Minecraft server as part of itself.. something that I think could have been included on the FAQ, but maybe it doesn’t need saying to those who have more server experience.. I don’t know..
Next was to install VoxelSniper, which was less intimidating as I felt like I knew what I was doing.. install to the Plugins folder, restart CraftBukkit, and edit the snipers.txt file to list those who can have access to use the tool.
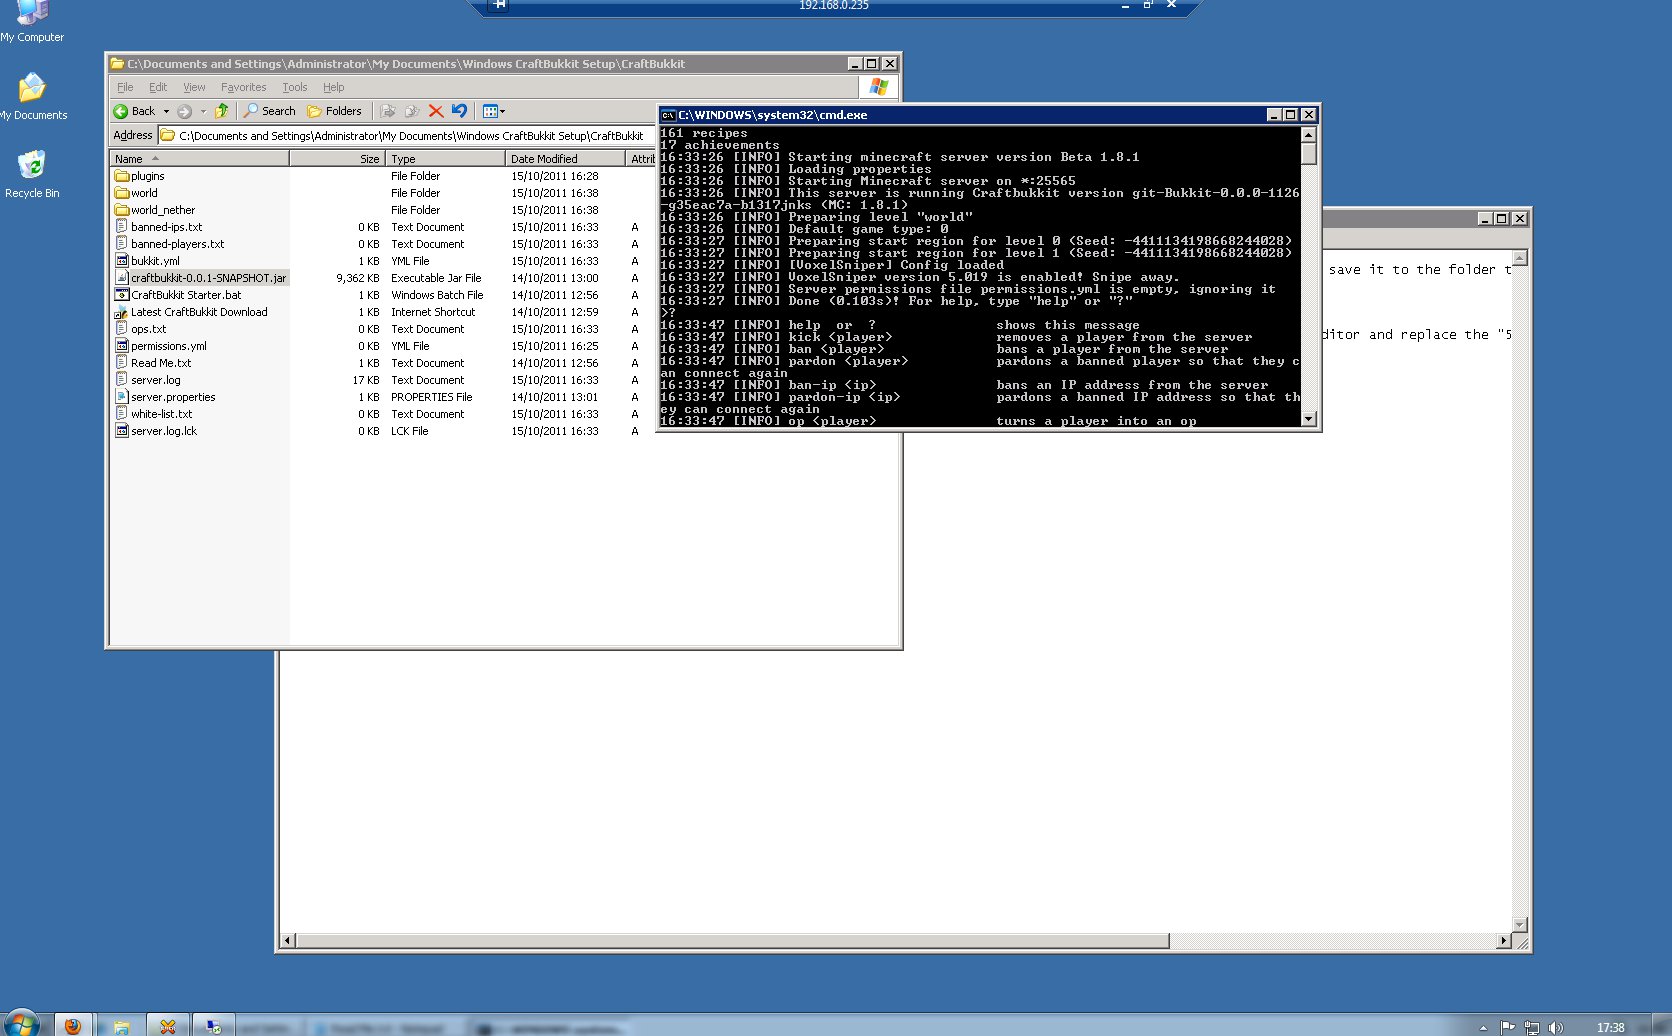
Now to see if it works..
Well.. the server launched fine.. but VoxelSniper? I was able to get at instructions for it, but completely unable to give myself the arrow tool which was indicated.. the server just didn’t recognise the command. More rooting around the forums..
VoxelSniper works with a slightly out of date CraftBukkit server.. #1060 rather than the “most up to date” build that I’ll have been given in the noob-friendly guide.
Re-install time.. this time doing it by myself..
It appeared to work, but when I went to reconnect, the server just gave me a Connection Error.. my Minecraft client needed backdating too. Once that was done, I was able to connect..
However, “i arrow” still gives me an “Unknown console command” error..
Well.. giving up for now 🙁
Minecraft – Wolves
After playing Darkspore this evening, I joined a friend on our Minecraft server to see if we could find some wolves, which were added in the recent update. To get wolves to follow you around as pets, you need to tame them by feeding them bones until little hearts appear above their heads..:)

I love the sound they make as they shake the water from their fur.. 🙂
Wolves only spawn in forests or on snowy ground, so while we were in the forest, we grabbed all the wolves we saw.
Normally it takes just a few bones to tame a wolf.. but one wanted eight bones before he would come with me!

Wolves are liable to fall off ledges if mountaineering.. but they come to your assistance when fighting mobs: they will fight anything that attacks their owner, as well as protecting them.
I got myself killed when I accidentally hit my friend’s wolf.. then a little later we ended up with two wolves fighting to the death..
My friend tried to remove a sand block trapping my wolf, but this counted as a hit on the wolf. When he then tried to attack, my friend’s wolf defended him, resulting in the wolf-fight.
We now have the beginnings of a nice, safe path between our spawn area and the forest where we found the wolves.. aptly named “The Breeding Ground” 🙂