


Sunwell Plateau
Late last night, I joined a group making a visit to Sunwell Plateau.. the hardest raid in the Burning Crusade expansion, containing the Sunwell. We only ended up with six players including Vorlak and myself, as it seems there aren’t that many people wanting to go and chase down older content like us 🙂
I had the WoWWiki guide up on my second screen so I could at least glance over the tactics as we went through.. reading about things is not the same as experiencing them though, so I had to be on my toes to start with. After the first few trash mobs, the other healer asked if I could heal the group by myself so he could DPS instead.. I was happy to try, though a little worried in case things went wrong and I took the blame.
The first boss, Kalecgos, proved a problem thanks to a tricky mechanic with two fights going in simultaneously, one in the regular world against the dragon himself, and the other in a shadowy world through a portal, where you must stop Sathrovarr the Corruptor from killing Kalec, the dragon’s half-elf form.

Those of us who had gone through the portal were unsuccessful in killing off Sathrovarr, meaning we were then unable to win the fight. Fortunately we were able to solve this by leaving and re-entering the instance. Our second attempt was much better, as all but the tank entered the spectral realm and killed Sathrovarr, then came back out to deal with Kalecgos.
So far so good though.. the group was nice enough and everyone else seemed to know what they were doing 🙂
The next bosses were found in The Dead Scar: a path made of blight leading through Quel’Thalas.. this is where the Undead attacked in the Warcraft III storyline 🙂
Brutallus, the pit-lord, kept applying his Burn ability to me, so I had to stay away from the other players to avoid passing it on to them, but fortunately it wasn’t doing a lot of damage.
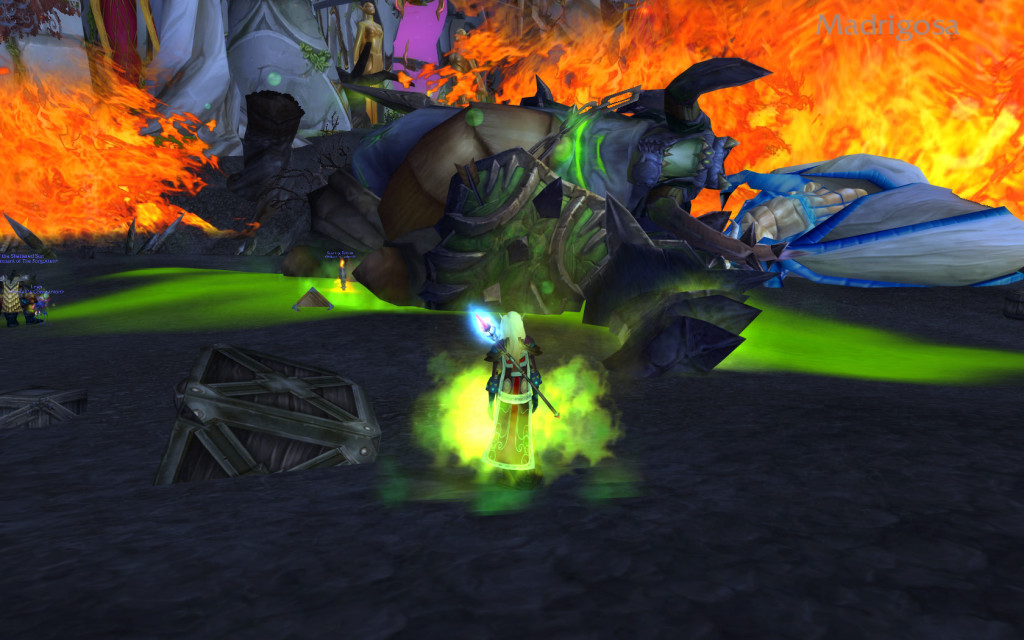
Felmyst, the third boss, is resurrected from the corpse of blue dragon Madrigosa as it is tainted by the blood of Brutallus.. so she appeared as soon as we were finished with Brutallus. This fight was a little more trouble as Felmyst’s abilities included various poisonous AOE effects.. gas, fumes, vapour..
I’d been given a heads-up to avoid these, but got caught out right at the end and was Mind-Controlled.. and the group had no choice but to attack me. Fortunately the dragon was killed first 😉
After resurrecting our two dead players, we went back indoors, heading towards the Witch’s Sanctum and the Eredar Twins.
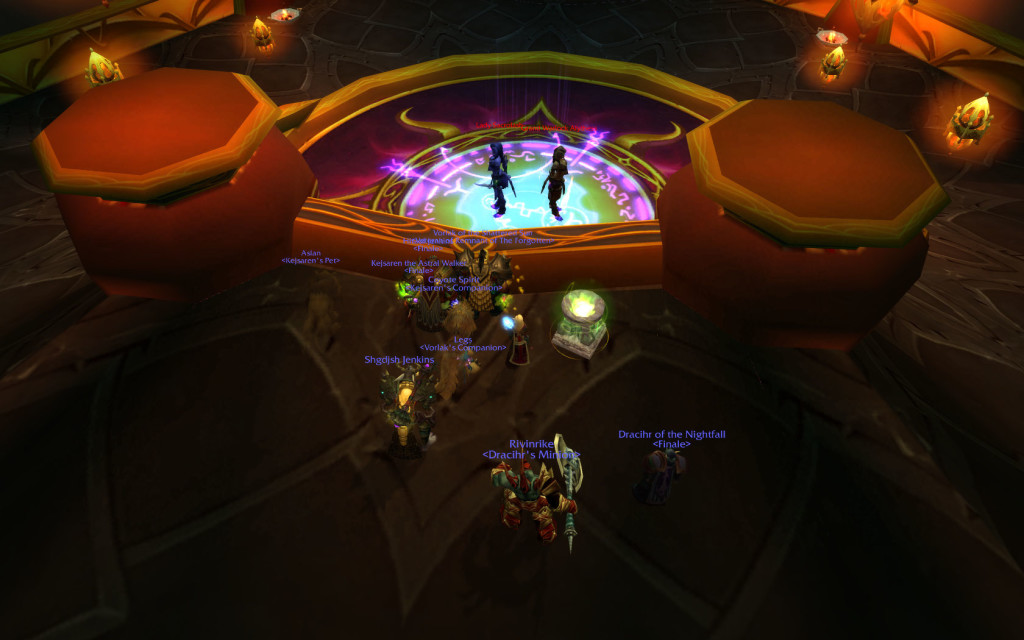
These two bosses work as a pair, with them both fighting in the first phase, and then after killing one Twin, the other continuing with some of the first Twin’s abilities. Looking over the tactics, I was a little worried by Dark Touched as 20 stacks of this on a player means healing effects reduced by 100%. I hoped this wouldn’t apply to Vorlak, as he was the tank.. but in the end it didn’t even register as a problem during the fight 🙂
M’uru was the next boss, a Naaru which I thought looked corrupted as the others I’ve seen were all bright and shining.. and didn’t want to kill us!

The group were going fairly quickly at this point and I didn’t get to check the tactics, but it just seemed to be a case of killing him quickly.. once M’uru is dead he transforms into Entropius, a void god, which again required burning down quickly. No problem for this group!
Then there we were.. at the final boss, Kil’jaeden!
Kil’jaeden is being summoned through the Sunwell, where energy is being drained from the imprisoned Anveena. Bit of lore here: Anveena looks like a human girl, but is actually the manifestation of the energy within the Sunwell; she sacrifices herself to weaken Kil’jaeden, which means the Sunwell’s destruction.
Tactics-wise.. the first part of the fight involves pulling the three Hands of the Deceiver away from the Sunwell.. thanks to us being overpowered and the group moving so very quickly, these were virtually dead before I’d got near the fight..
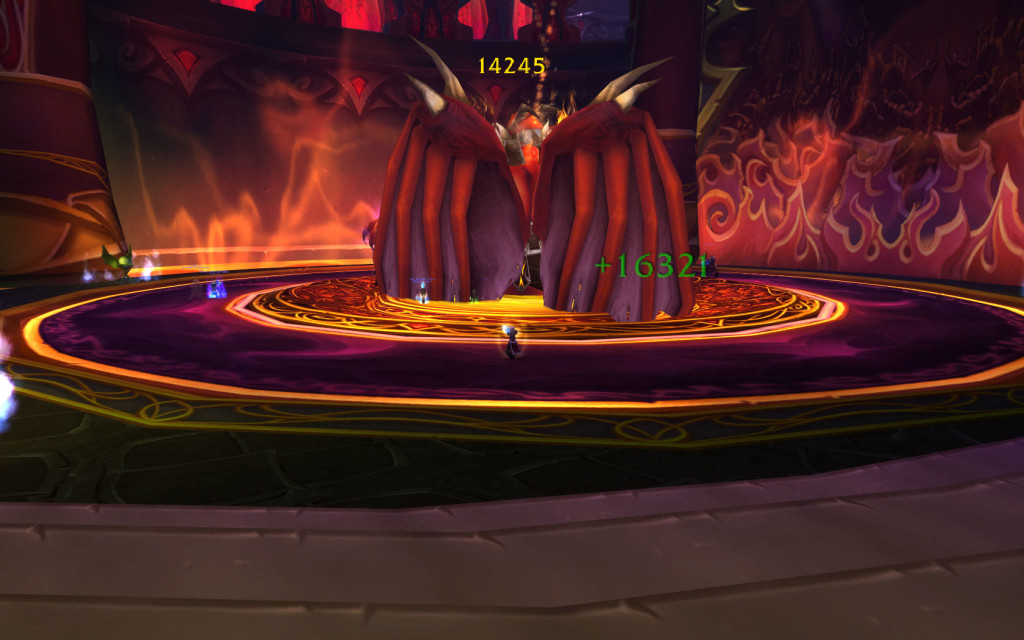
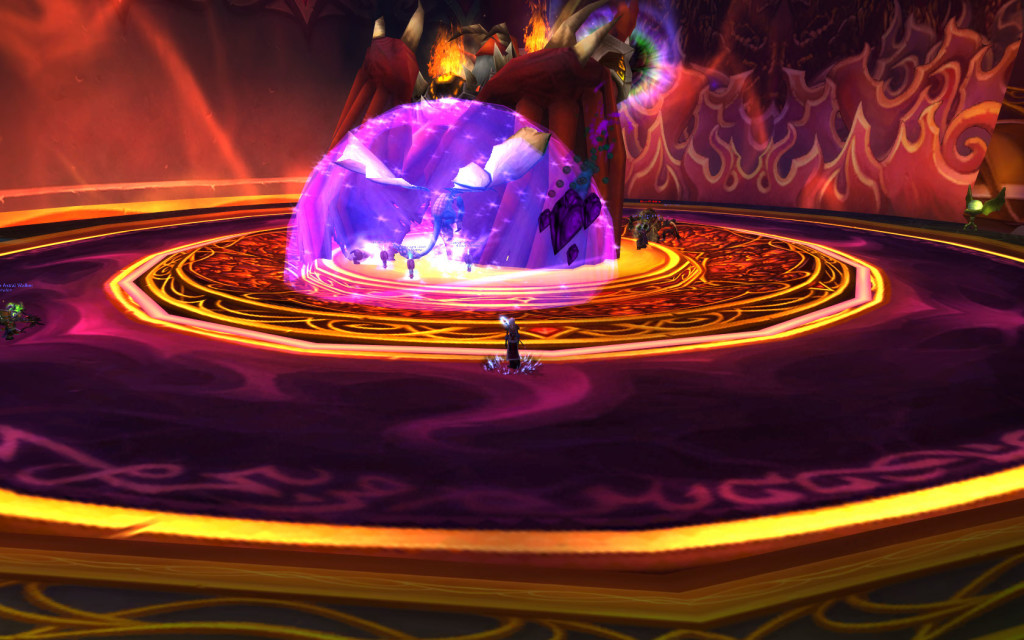
Part way through the fight, Vorlak used an orb at the side of the room to turn into a blue dragon! This gave him some useful abilities including Breath: Revitalize, which gave me mana.. always useful.. and Shield of the Blue, providing a shield which reduces incoming damage by 95%..
As Anveena sacrifices herself, she applies a buff to Kil’jaeden meaning he takes increased Holy Damage.. yay for my use of Holy Fire letting me get extra damage in! Once defeated he disappears back through the Sunwell..
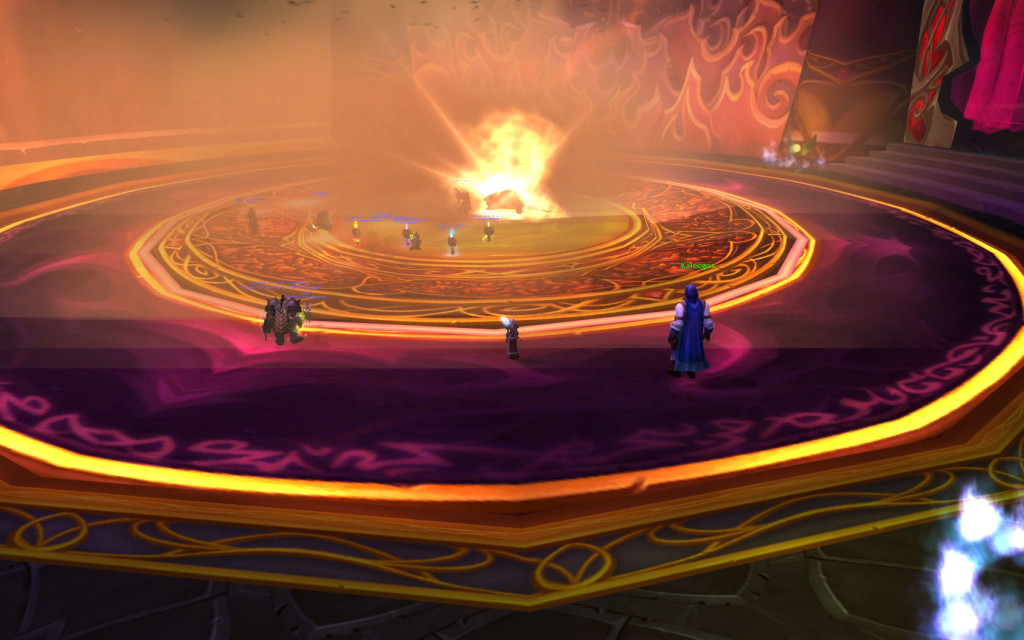
There was more lore here too, with a conversation between Lady Liadrin and Prophet Valen about the victory, and how the heart of M’uru had been recovered, and is now a source of light energy in place of the Sunwell. I really need to read the books so I have more of the story.. 🙂
Healing the group for this was much easier than I expected, and I was really glad I’d come along despite worrying about not knowing the tactics. Vorlak and I both got the Sunwell Plateau achievement, and Vorlak also got Outland Raider.. I’m missing this one still!
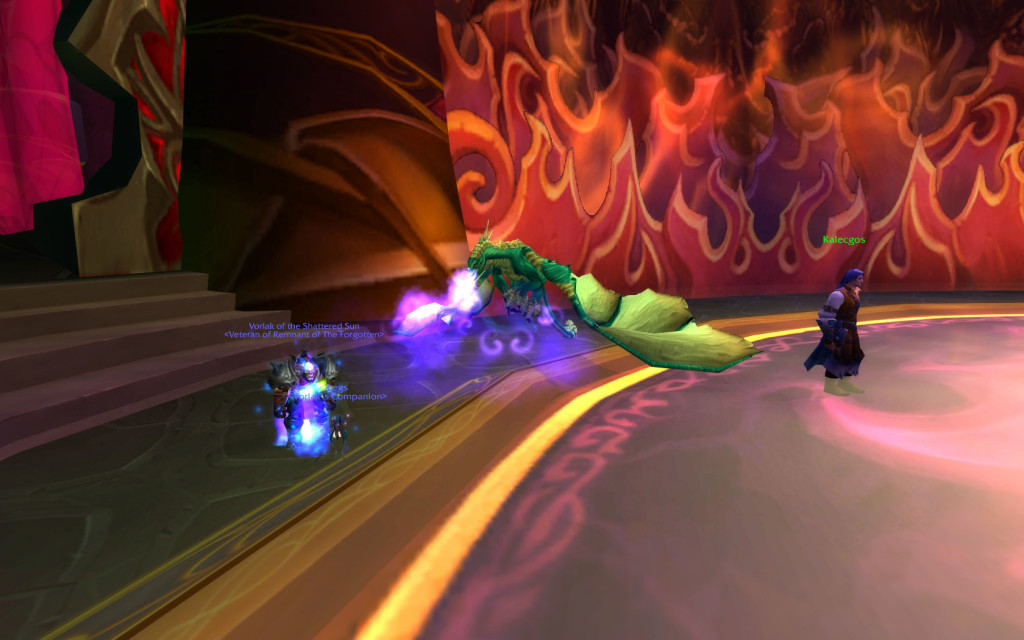
Once the loot was distributed, the others left and we wandered around a little. I also tried out the dragon orb 🙂
Baradin Hold, Zul’Aman and Serpentshrine Cavern
Baradin Hold, a level 85 raid, was tonight’s conquest.. as the Horde had won in the PvP Tol Barad and therefore controlled the area, this rather short raid was available for a few hours. Finding people to start with was a bit of a pain, as there were others looking to make groups of their own as well, with specific class requirements and so on. Once the group was assembled, the worst of things was over.. we ended up with nice enough people 😉
At the moment the raid contains just one boss, Argaloth, though more may be added in time.. as well as only having the one boss, we split into two groups.. Argaloth’s Meteor Slash ability deals a lot of damage to whoever is in front of him.. this requires players to stand on the tank so that the damage is shared between all those players rather than all going to the tank and killing him. The two groups then swap, so Argaloth hits the second group while the first recover.

(Screenshot taken from Wowhead)
By splitting into two groups with a healer in each, it just felt like I had my regular group to look after plus a few extra people to heal every so often.. so aside from the requirement for more players in the group, it didn’t feel very much different from a regular dungeon fight. Our first two attempts failed, but we took him out on the third try. I also won some new gloves 🙂
Zul’Aman, newly returned to the game, was our next port of call.. for now this is still a raid, but will become a Heroic dungeon somewhere down the line.
The guys gave me all the Amani Hex Sticks we found, with a mention of a pet being involved. 😀
These are for using them on frogs; this removes a hex and turns the frogs back into people, who then drop a box with loot, or are vendors for random items. Eventually I hit the right frog.. and won Mojo, who rushed at me and jumped into my pocket.. I thought I was being attacked! 😀

The group found him irresistable.. kissing Mojo turns the player into a frog! When you kiss him, he whispers things to you as well.. 😉
Finishing Zul’Aman was no problem for our overpowered group..

After Zul’Aman, we headed for Serpentshrine Cavern, a raid in the underwater Coilfang Reservoir.
Heading into this raid, I was shown the Tier 5 Priest Gear, and told I had to roll on it. It is a fairly nice set, so I decided I would collect it.. and maybe see if we can catch anyone else out in PuGs..
Last week we met an idiot in a PuG.. he saw our tank in old gear and quit without asking or even waiting to see if he would switch into something more up-to-date. I’m now thinking about turning up to these groups in the nice looking Tier 5, or even in a simple dress.. this might prove a good way of getting rid of impatient, annoying type players right at the start 🙂
Anyway.. Serpentshrine Cavern!
I’d been here with a friend before Cataclysm, and I had remembered it being a little tougher.. we cleared the packs on the platforms fairly quickly.
In a very interesting twist, The Lurker Below has to be fished up from his pool before fighting him. With an achievement up for grabs we rolled to see who would do it, and I won. It took a few tries, but eventually I caught a big one..

The Lurker Below’s knockback was annoying, as it came from more than one of his abilities, I kept being caught by it.
Fathom-Lord Karathress managed to kill us on our first attempt, resulting in a rather long run back across the water and down into Coilfang Reservoir. Eventually we got the better of him.. and moved on to Morogrim Tidewalker. His mechanics included teleporting us into the waterfalls, where we were temporarily incapacitated before being dropped and incurring falling damage. This meant I had a bit more of a challenge in healing, so I enjoyed this fight most.
After killing all the bosses, an impressive looking bridge is lowered to get to the final boss, Lady Vashj.

We had no problems the first phase, which was all about damage, but in the second phase she becomes immune, with her shield generated at four points on the platform. To knock out the shield we had to get Tainted Cores from Tainted Elementals which appear in the water around the platform.. the interesting mechanic here was that once you have a Tainted Core you are unable to move, so you have to throw the Core to the next person, who throws it to the next..
However, Enchanted Elementals continually appear and head for Lady Vashj, and need to be killed as they give her a power boost.. they weren’t hard to kill alone, but there were also Coilfang Elites, which took a bit more to put down, and then the Striders, who used Panic and disrupted us far too much.
We decided that four people wasn’t enough, so put this off for another night..
More Old Raids – Black Temple
I had a whole two days away from WoW after letting my three-month sub expire.. going outdoors and getting daylight.. playing Fable III.. but there’s no rest for the wicked, so I returned on Sunday evening for some more old content with the rest of my lovely guild.
Black Temple was next up on the achievement hit-list.. we entered through the sewers and after one friend pointed out that the Aqueous Lords were urine-based, I levitated myself and Vorlak so we wouldn’t have to walk in it 😉
The second boss, Supremus, was a huge abyssal demon..

When I stopped the group for the screenshot, the others noticed something very interesting in the sky.. Azeroth!

I was warned of Supremus’ volcanoes, but was a little disappointed when they showed up because they were rather small.. especially beside him anyway. They were easy enough to avoid, too..
Teron Gorefiend was an interesting boss, thanks to the mechanic involving the player dying and returning in ghost form.
At first I thought this was a fail in my healing, but then found out it was the mechanic. You only get one minute in ghost form, but during that time you have the ability to chain the shadowy mobs which appear when you die, as well as shield anyone still alive.. just Vorlak by the time I got killed.. and of course you can attack the boss too 🙂
I would like to try this again, as I now know what to expect.
Somewhere around here I was hit by an interesting bug.. I was still able to move and cast as normal, but otherwise I was slumped over with a sleep effect on me. Later this was joined by a dazed effect.. they lasted until I was killed.

I hated the Reliquary of Souls.. running the gauntlet to get to this boss was fine, and even the lack of a rest before the boss was fine.. but the boss itself? Ouch.
Essense of Suffering was the first phase.. a 100% reduction in healing meant I could only apply PW:S or attack.. but this was beaten in pain levels by the second phase: Essense of Desire. Desire? Oh yes.. I wanted more mana, as my pool got smaller and smaller, and everyone else wanted more healing as they were taking damage equal to 50% of the damage dealt. We wiped on the first attempt, but the guys were successful in interrupting the boss’ attacks on the second, and we got into the third phase.. which by comparison was easy as it was just damage to heal through.
Gurtogg Bloodboil, a massive fel orc, was also fun.. though he killed me on our first attempt when he randomly charged at me. I liked him when we had our second go though, partly because he made me massive and powerful with the Fel Rage buff that also reset my Shadowfiend cooldown!
Another highlight of our trip was the Den of Mortal Delights.. well, what can I say about this place? It brought plenty of smut out, anyways.. our temporarily fire-specced Mage had the best line, saying that the ladies were hot for him.. before burning them 😉
The boss, Mother Shahraz, was easy enough to kill though she had an annoying mechanic: Fatal Attraction pulled us on top of each other, applying a debuff so we then hurt each other. Run away!
We finally got to Illidan..

We were able to pose around him without him moving, as he had to be started off elsewhere..

Somebody started off the fight by talking to Akama, who was tucked away round the corner from where we’d been posing with Illidan. There was some dialogue.. and then fighting 🙂
We knocked Illidan down fairly quickly in the first phase, but then met the two Flames of Azzinoth, which put out huge beams and threw fireballs at us until we were dead. We split off for these on our second attempt, with two of us on the first Flame and the other three on the second Flame.. this time it was easier to avoid the beams and fireballs.
Illidan then landed, and didn’t last long especially as we were joined by Maiev Shadowsong (the namesake of our server!).

Sadly, he didn’t drop the Warglaives of Azzinoth.. but hey, we can always go back again 😉
For the Horde!
Sunday morning.. a good time to do something peaceful? Nah! 😉
We joined a nice big group to try and grab the “For the Horde!” achievement.. the challenge being to get into the Alliance cities and kill their leaders!
Aside from Wintergrasp, where I tend to run around after a friend, this was my first proper attempt at dealing with a large group and I was a bit worried about what to expect. I think I’m good enough in a group of five now, but keeping track of this many?
I’ve also only just got the raid frames out, so that’s another thing to get used to. I dragged the raid leader and my friend, both tanks, out separately from the groups so I could see them more easily. I figured that if I can’t keep up with the whole raid, at least I can keep on top of those two..
The first thing I learned was that a big group means disorganisation and complaining. Some wanted to hold out for a massive group of 40 and others wanted to have already set off.. then there was some discussion about which Alliance leader to go for first, and more complaining about how long things were taking.
The eventual attack order decided on was: Darnassus, the Exodar, Stormwind City and then Ironforge. We flew from Orgrimmar, with some of us getting split up as we didn’t have the required flight path. There was then more complaining from the impatient types in the group, but a few summons later and we were running down the road to the first enemy city..

Darnassus was a lot easier to get into than I expected, and we killed High Priestess Tyrande Whisperwind very quickly.. one down, three to go! This kill got us the “Immortal No More” achievement.. one per Alliance leader and “For the Horde!” for getting all four.
We all headed to the boat, where I decided to stay rather more still than usual for fear of falling off and getting yelled at.. I shouldn’t have worried though, because somebody did manage to fall off.. and then repeat the trick on the next boat trip too.
The Exodar was almost as quiet as Darnassus, but there still really wasn’t any time to sight-see..
There wasn’t a lot of resistance with just guards and NPCs present, but a few of us got feared over a low wall and found ourselves stuck, unable to jump back over the wall! After Prophet Velen went down, somebody found the way out for us. “Putting Out the Light” was the second achievement in the set.. so far so good!
Back to the boats..

Stormwind City was next on the list, to kill King Varian Wrynn and grab “Storming Stormwind”.
This wasn’t as easy as the first two stops. I got stuck in combat as we got off the boat, along with a couple of others, while the main pack shot off to find the King.
Killing the guards so we could mount up would have taken far too long, if it was even possible, so we had to run and hope for the best. I chased after a guy who seemed to know where he was going, while bubbling us both and throwing out a few Psychic Screams for the guards.. and we arrived to the main fight just in time to see the King go down!
The tram was our next form of transport 🙂
I vaguely remember being taken for a tour around all the cities when I had my trial week all those months ago, and the tram is the only one I’ve not seen since.
I’d passed a couple of Alliance players along my run through Stormwind and had been relieved when they didn’t jump the two of us who were on foot.
With the raid having taken three leaders down, the Alliance players knew exactly where we were headed..

The group went down, and the whinging started up again..questioning the decision to leave Ironforge till last, and more disagreement over whether to res and try again.. how long to wait for, and whether it was worth trying at all as the Alliance players were now alert and waiting for us to come back.
In the end we went for a second try, but the remaining Alliance players were too strong and we couldn’t beat them back let alone take down the dwarven King.
So.. another day, Ironforge, King Magni Bronzebeard, and the achievement”Death to the King!”.. *shakes fist* 😉
I will be going back, and not only for the fun and the achievement.. there’s a Black War Bear to be had!